
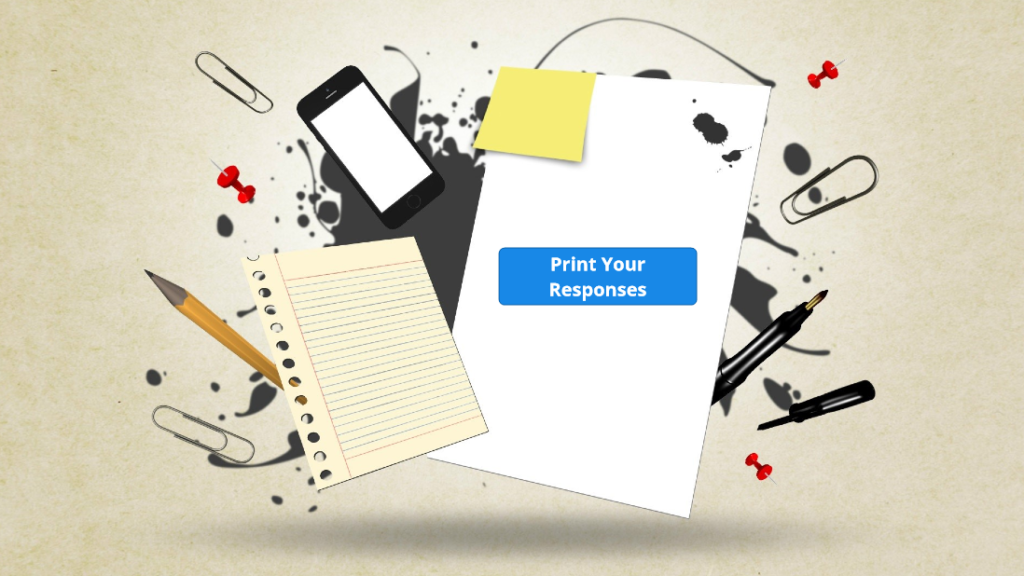
Here’s a quick mockup that I created using Storyline 360 and JavaScript. My goal was to collect learners’ input from three slides and then allow them to print their responses.
Mechanics
Each slide in this demo sample includes a photo from nature and a text variable field for the learner to comment on the photograph.

When the learner reaches the final slide, I provide them with the option to print their responses.
The Javascript behind the “Print Your Responses” button is shown below:
var myWindow = window.open("","Print","width=810,height=610,scrollbars=1,resizable=1");
var player=GetPlayer();
var pic1comments=player.GetVar("pic1comments");
var pic2comments=player.GetVar("pic2comments");
var pic3comments=player.GetVar("pic3comments");
var contents = "<html><head></head><body style='width:650px;padding:20px;'>";
contents+="<div style='height:20px;padding:10px;margin-bottom:20px;text-align:center;'><button onclick='javascript:window.print();'>Print My Notes</button></div>";
contents+="<div style='font-size:18px;font-weight:bold;margin-top:10px;'>Here are your comments.</div>";
contents+="<div style='font-size:17px;margin-top:5px;'>Pic 1 Comments</div>";
contents+="<div style='font-size:17px;margin-top:5px;'>"+pic1comments+"</div>";
contents+="<div style='font-size:17px;margin-top:5px;'>Pic 2 Comments</div>";
contents+="<div style='font-size:17px;margin-top:5px;'>"+pic2comments+"</div>";
contents+="<div style='font-size:17px;margin-top:5px;'>Pic 3 Comments</div>";
contents+="<div style='font-size:17px;margin-top:5px;'>"+pic3comments+"</div>";
contents+= "</body></html>";
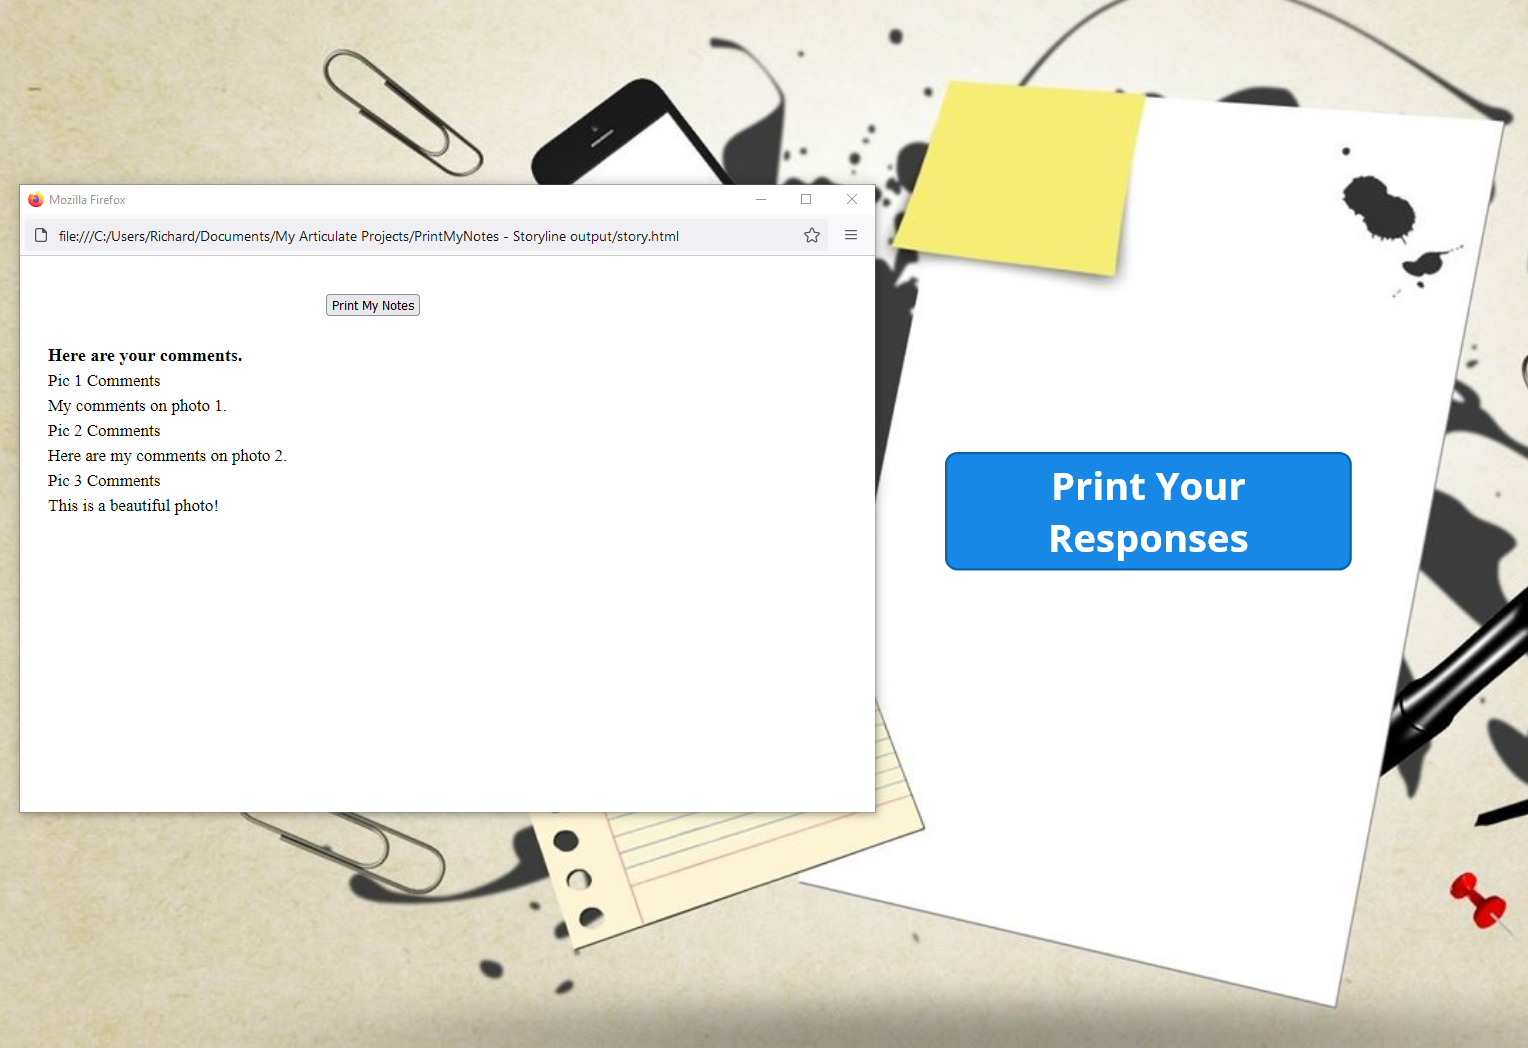
myWindow.document.write(contents);Here you can see the results. From here, the learner can print to their local printer or print to a PDF file to save. Credits to Matthew Bibby for providing the initial JavaScript code!
Update: Jason (see comments section) asked how to add an image to this output. Here is some updated code that appears to work.
var myWindow = window.open("", "Print", "width=810,height=610,scrollbars=1,resizable=1");
var player = GetPlayer();
var pic1comments = player.GetVar("pic1comments");
var pic2comments = player.GetVar("pic2comments");
var pic3comments = player.GetVar("pic3comments");
var contents = "<html><head></head><body style='width:650px;padding:20px;'>";
contents += "<div style='height:20px;padding:10px;margin-bottom:20px;text-align:center;'><button onclick='javascript:window.print();'>Print My Notes</button></div>";
contents += "<div style='font-size:18px;font-weight:bold;margin-top:10px;'>Here are your comments.</div>";
contents += "<div style='font-size:17px;margin-top:5px;'>Pic 1 Comments</div>";
contents += "<div style='font-size:17px;margin-top:5px;'>" + pic1comments + "</div>";
contents += "<div style='font-size:17px;margin-top:5px;'>Pic 2 Comments</div>";
contents += "<div style='font-size:17px;margin-top:5px;'>" + pic2comments + "</div>";
contents += "<div style='font-size:17px;margin-top:5px;'>Pic 3 Comments</div>";
contents += "<div style='font-size:17px;margin-top:5px;'>" + pic3comments + "</div>";
contents += "</body></html>";

// Constructing the print document with the logo at the top
var printDocument = "<html><head></head><body style='width:650px;padding:20px;'>";
printDocument += "<img src='logo.jpg' style='max-width:100%;max-height:100%;margin-bottom:20px;' />"; // Logo at the top
printDocument += contents; // Adding the contents section
printDocument += "</body></html>";

// Opening a new window with the print document
var printWindow = window.open("", "Print", "width=810,height=610,scrollbars=1,resizable=1");
printWindow.document.write(printDocument);
printWindow.document.close();

Hello!
Thank you for sharing! I was curious if you could add an image, like a logo, into the contents of the slide? Thank you!
Jason,
You might try the code I updated in the post above. I added a logo.jpg file to the Storyline output directory (same location as the story.html file) and updated the Javascript code as indicated. Remember, you’ll have to replace the logo.jpg file post publish each time as Storyline will overwrite it. As a reminder, I’m not a Javascript expert and I sure don’t play one on TV.
Hi Richard,
Thank you for providing all of the code for the exact thing I am looking to do. I am, however, confused about how you pulled the slides into the code. For these variables, are these the name of the slides, (example, is pic1comments, slide “pic 1 comments”?) I am not understanding how to plug in the three slides I want to print, onto one Word document, into the JavaScript.
var pic1comments = player.GetVar(“pic1comments”);
var pic2comments = player.GetVar(“pic2comments”);
var pic3comments = player.GetVar(“pic3comments”);
Thank you, Erin
Erin,
var pic1comments=player.GetVar(“pic1comments”);
The first pic1comments that appears is the JavaScript variable.
The second “pic1comments” (after GetVar) variable is the Storyline variable created within Storyline. It’s this variable I use to capture the learner’s comments. Each slide has a different variable name to capture comments.
Hope that makes sense. When I get time, I’ll try to go back and rename the SL variables to make this easier to follow.
Richard
Hi Richard, I was super excited to find your post on this. Thank you for sharing. I don’t “do” JavaScript but yours seemed pretty easy. I changed where Lines 3 – 5 were getting the response from which worked. I then added 3 additional lines to gather the responses from sides 6 – 8. That didn’t work. Any ideas on why? Also, can I change the var pic1comment=player to pick up the question that’s on the slide the learner is answering? Below is what line 6 reads, the other two lines have 05 and 06.
var pic1comments-player.GetVar(‘response04″);
Thank you!