I noticed someone on the e-Learning Heroes forum wanted a license plate graphic for their e-Learning project. It got me thinking about how easy it might be to create one myself in PowerPoint. Oddly enough, it was relatively simple. Here’s the scoop!
- Step 1: Find a photo to use as the background for the license plate
- Step 2: Find a cool overlay image/pattern to place over the top (optional)
- Step 3: Place the overlay over the photo from Step 1, set its transparency to 51% and save the two as a new image
- Step 4: Create a rounded rectangle and fill it with the image from Step 3
- Step 5: Add a second rectangle, just a little smaller for the inside, to make it look nice
- Step 6: Find an illustrated graphic of a bolt and apply the cool overlay image from Step 2
- Step 7: Add the bolts to the license plate
- Step 8: Add some text, maybe some tags for month/year expiration dates, and you have a mock license plate for your next e-Learning course!
What happens if you follow these (simple yet not entirely straightforward) steps? You might end up with the following:
This license plate uses a “rusty” overlay to create a worn effect for the bolts and the license plate.

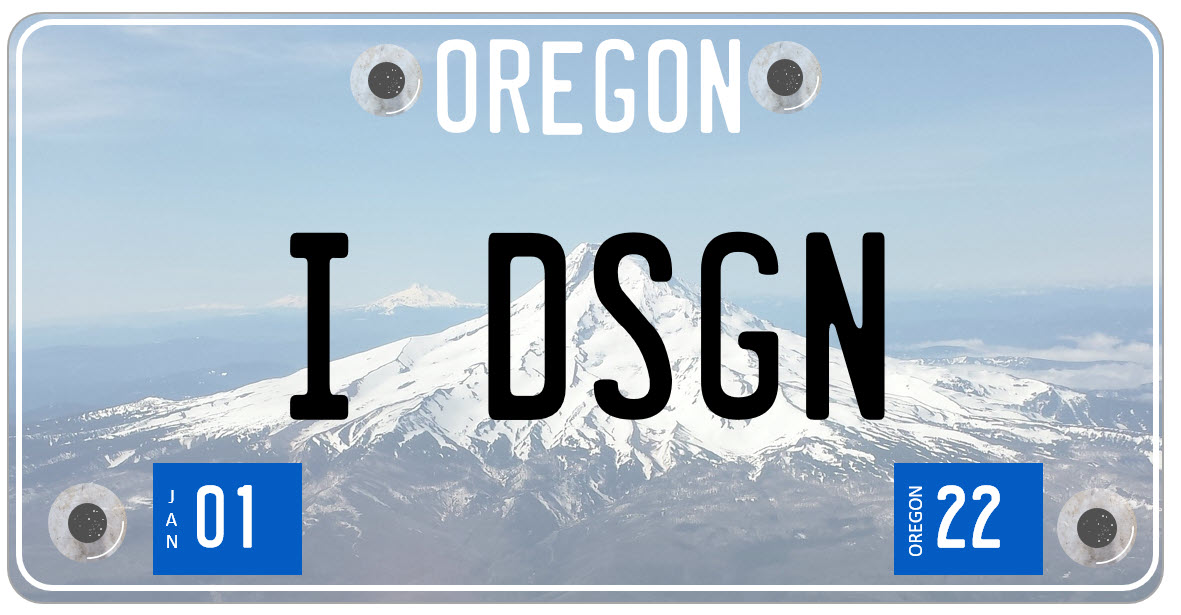
Here is an example of a license plate that did not use the overlay:
If you need one of these for your next e-Learning project and have trouble figuring out the process, let me know, and I’ll put together a short video that explains the process a little better.
Leave a Reply