Animated Masking and Cutout Effects in E-Learning Design #356 is a challenge I recently completed on the e-Learning Heroes forums. I like to participate in these challenges monthly to see what others are doing with Storyline 360. The goal for this challenge was to share an animated example that uses either a masking or cutout effect for one or more slide elements.
How do you create a cutout effect?
Step 1: I selected a photo for my backdrop from Articulate’s Content Library and inserted it into Storyline 360.
Step 2: I found an illustrated photo of a smartphone to reference for the cutout’s dimensions.
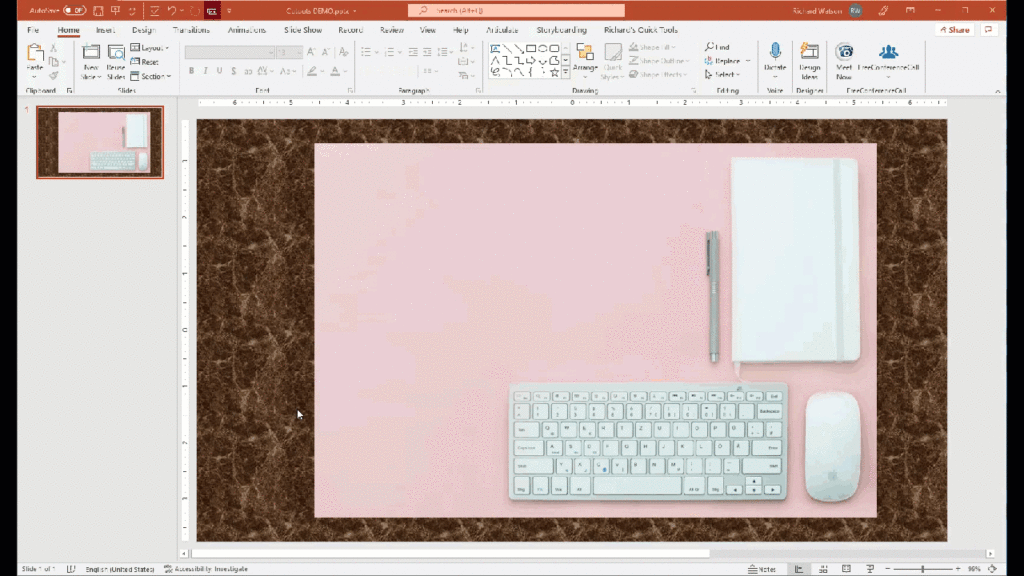
Step 3: I copied the photos to PowerPoint and created the cutout mask. Note: I did not use a darker background in my final demo. I included here to provide a visual indicator to show the cutout worked. Click the graphic below to see the process.

Step 4: Once I had my cutout, I copied it back to Storyline and started designing for this week’s challenge. In this case, I created two samples to share.
Smartphone
In this sample, I designed a home screen for the smartphone, added a vibrating incoming call sound, and built the icons for answering and declining the call. I designed this short interaction to test someone’s decision-making skills for after-hours work. You could modify this to be a texting interaction, a conflict resolution process, or even how to answer specific questions from a customer. Click the image to view the demo!

Charts
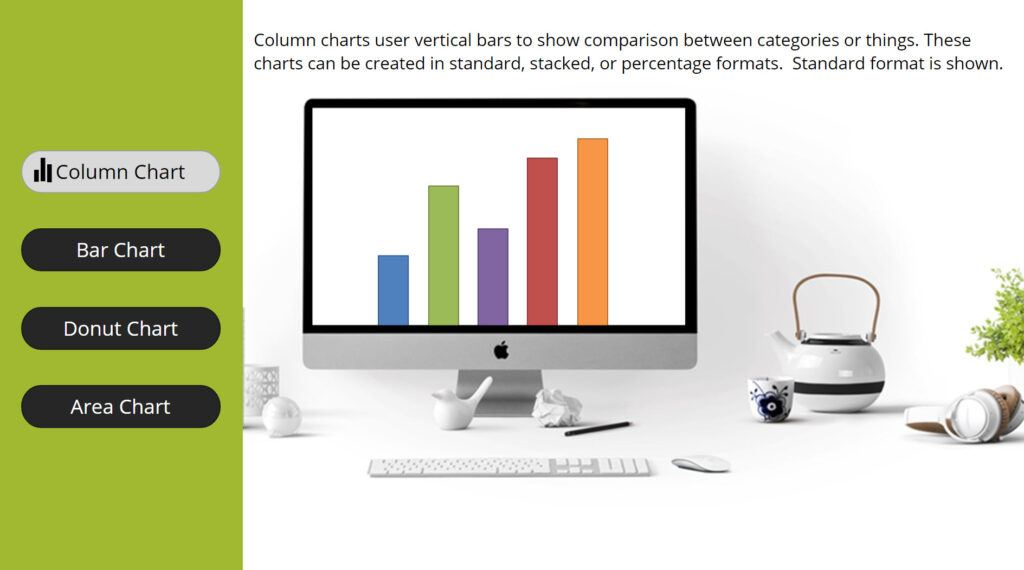
In this second example, I wanted to use masking to make the animation look more realistic. Instead of the charts flying from off the screen, they appear to animate from within the computer monitor. I also added some custom hover icons to match the charts shown. Click the image to view the demo!


Leave a Reply