Here is a quick trick to create a looping animation in Storyline 360. It requires a hat, two move animations, and three triggers. Let’s get started!
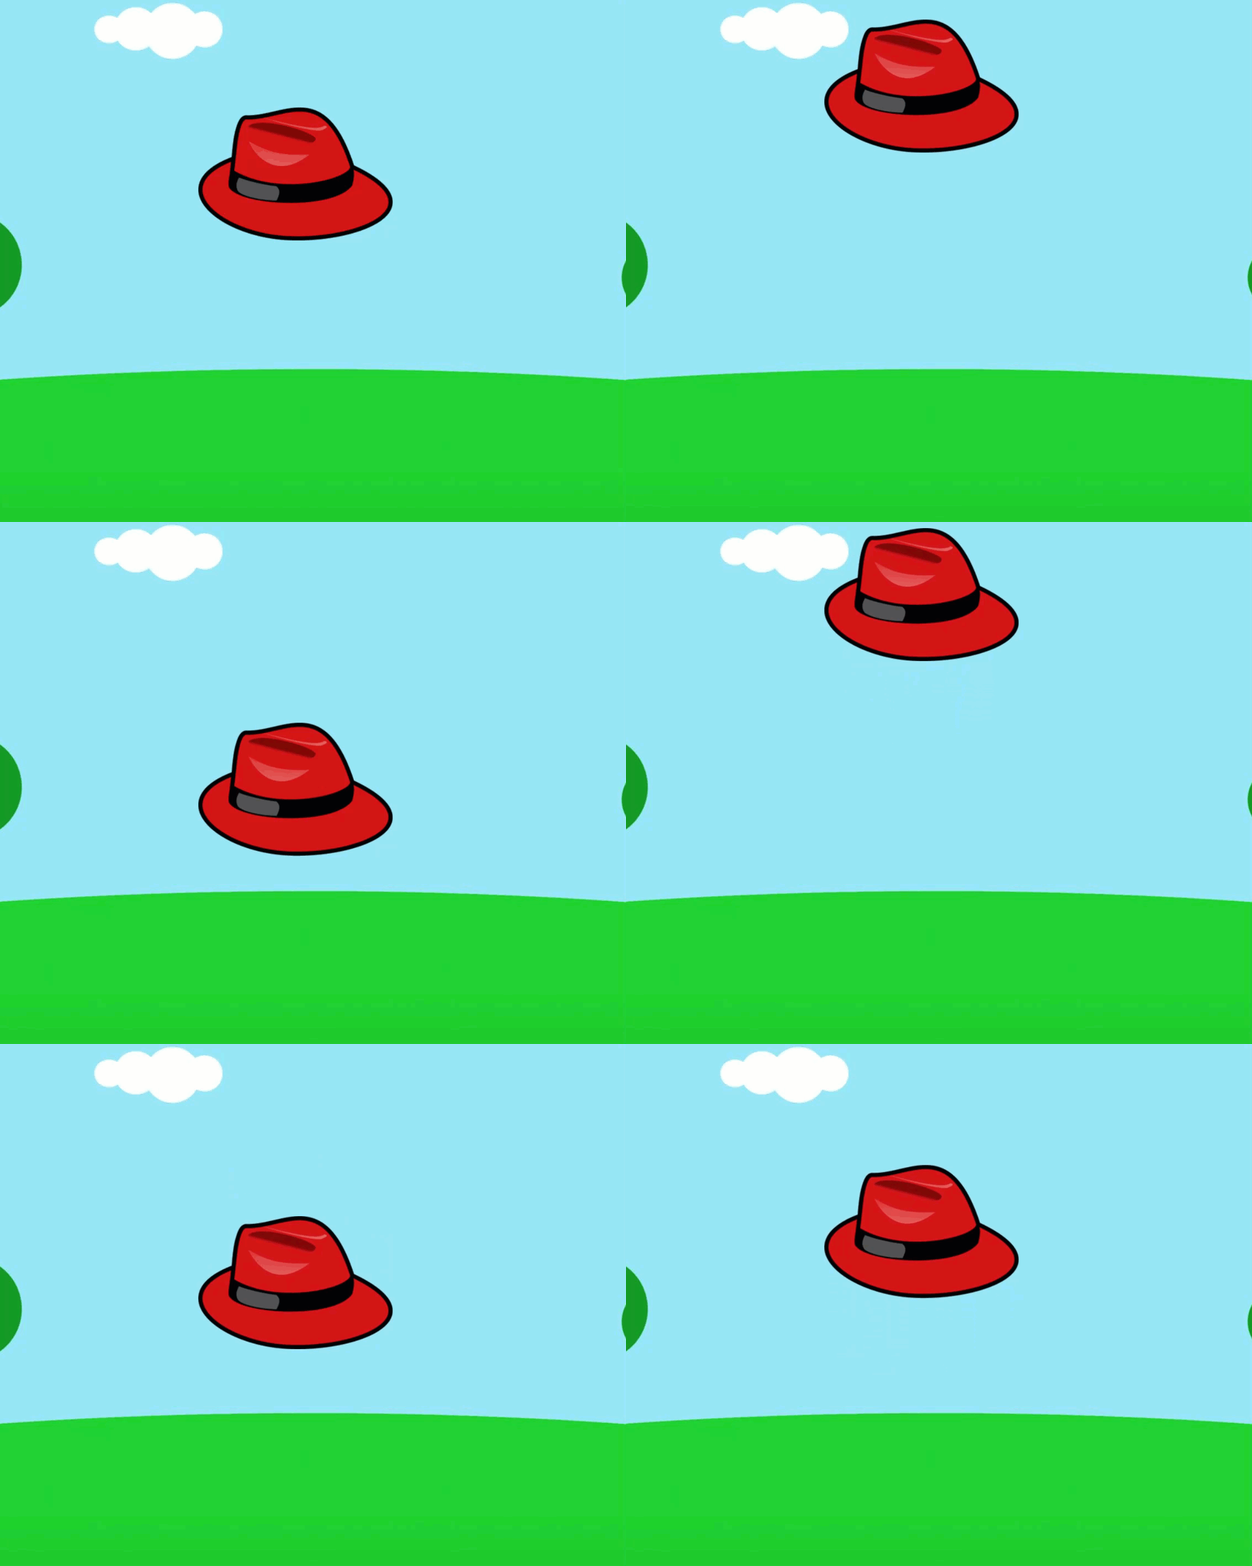
Pick a Hat
For the demo, I used an illustrated red fedora from Storyline’s Content library. You could change this to a magic hat (makes more sense), a Santa hat, a graduation cap, a witches hat… you get the idea!
Create the Move Animations
Create a move animation for the hat to go up (Select hat, Animations tab, Add Motion Path, Select lines, then select Path Options and choose Up for the direction). Select the hat again and create another motion path but make sure this one goes in the Down direction.
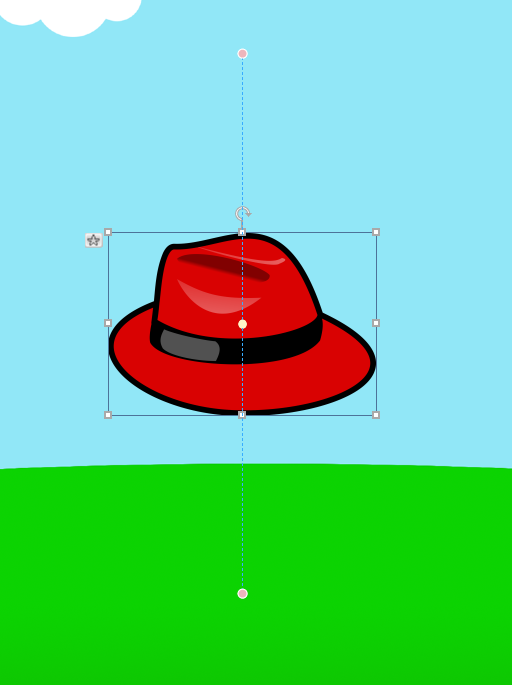
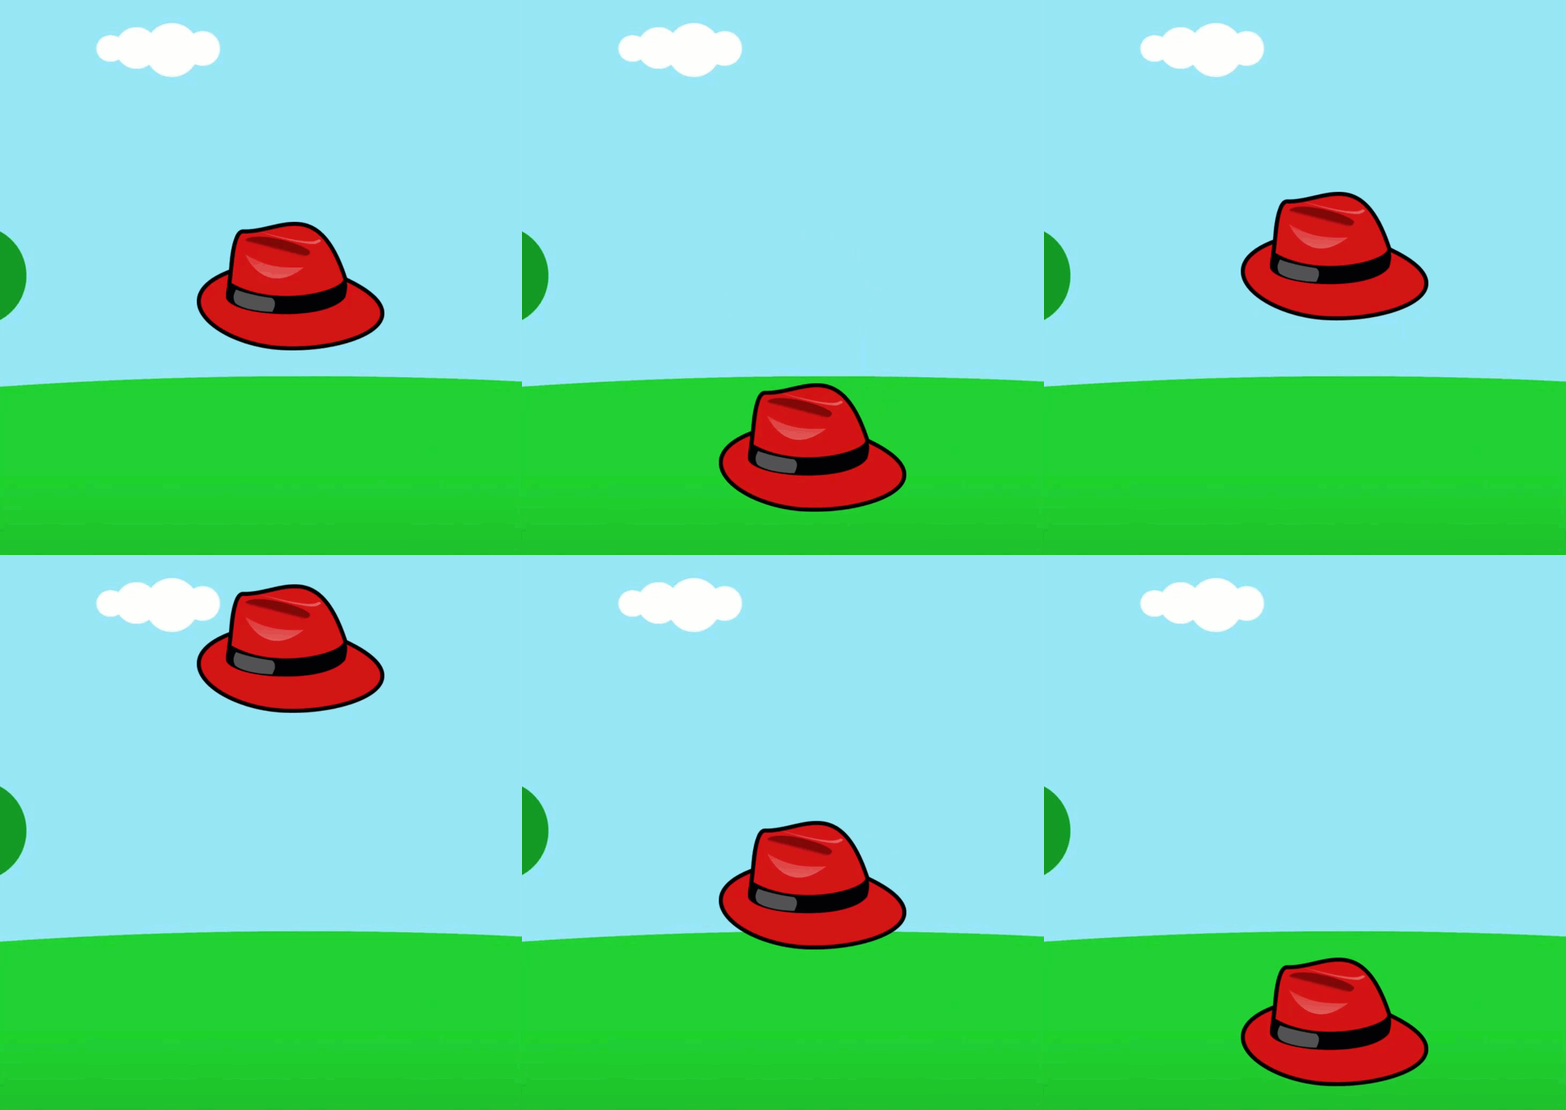
For each motion path, make sure you select the Relative Start point option. This option allows the object to move along the motion path starting from its current path. If you don’t select this for both motion paths, the animation will appear jerky as shown in the animation below.

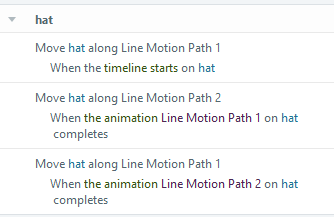
Updating Triggers
The last step is to modify the triggers created when you added the initial motion paths as follows:
Imagine the possibilities!
Leave a Reply