Today’s post shows you how to remove the checkmarks that appear next to the slides in the Storyline player menu. Why would you want to do this? Well, when someone says, “I’m building something that is more of a tool than a linear course,” that’s why. Besides, it’s always fun to play around with Storyline and see what you can do!
Let me start by saying, this is not supported by Articulate nor should it be done in most cases, as it provides a way for the learner to view their progress in a course. It’s best practice, but I digress.
I’m also not claiming this will not mess up some other area of the menu but, no guts… no glory! It will require you to edit files after you publish your course, which means that Storyline will overwrite the file each time you republish.
Step 1: Publish It
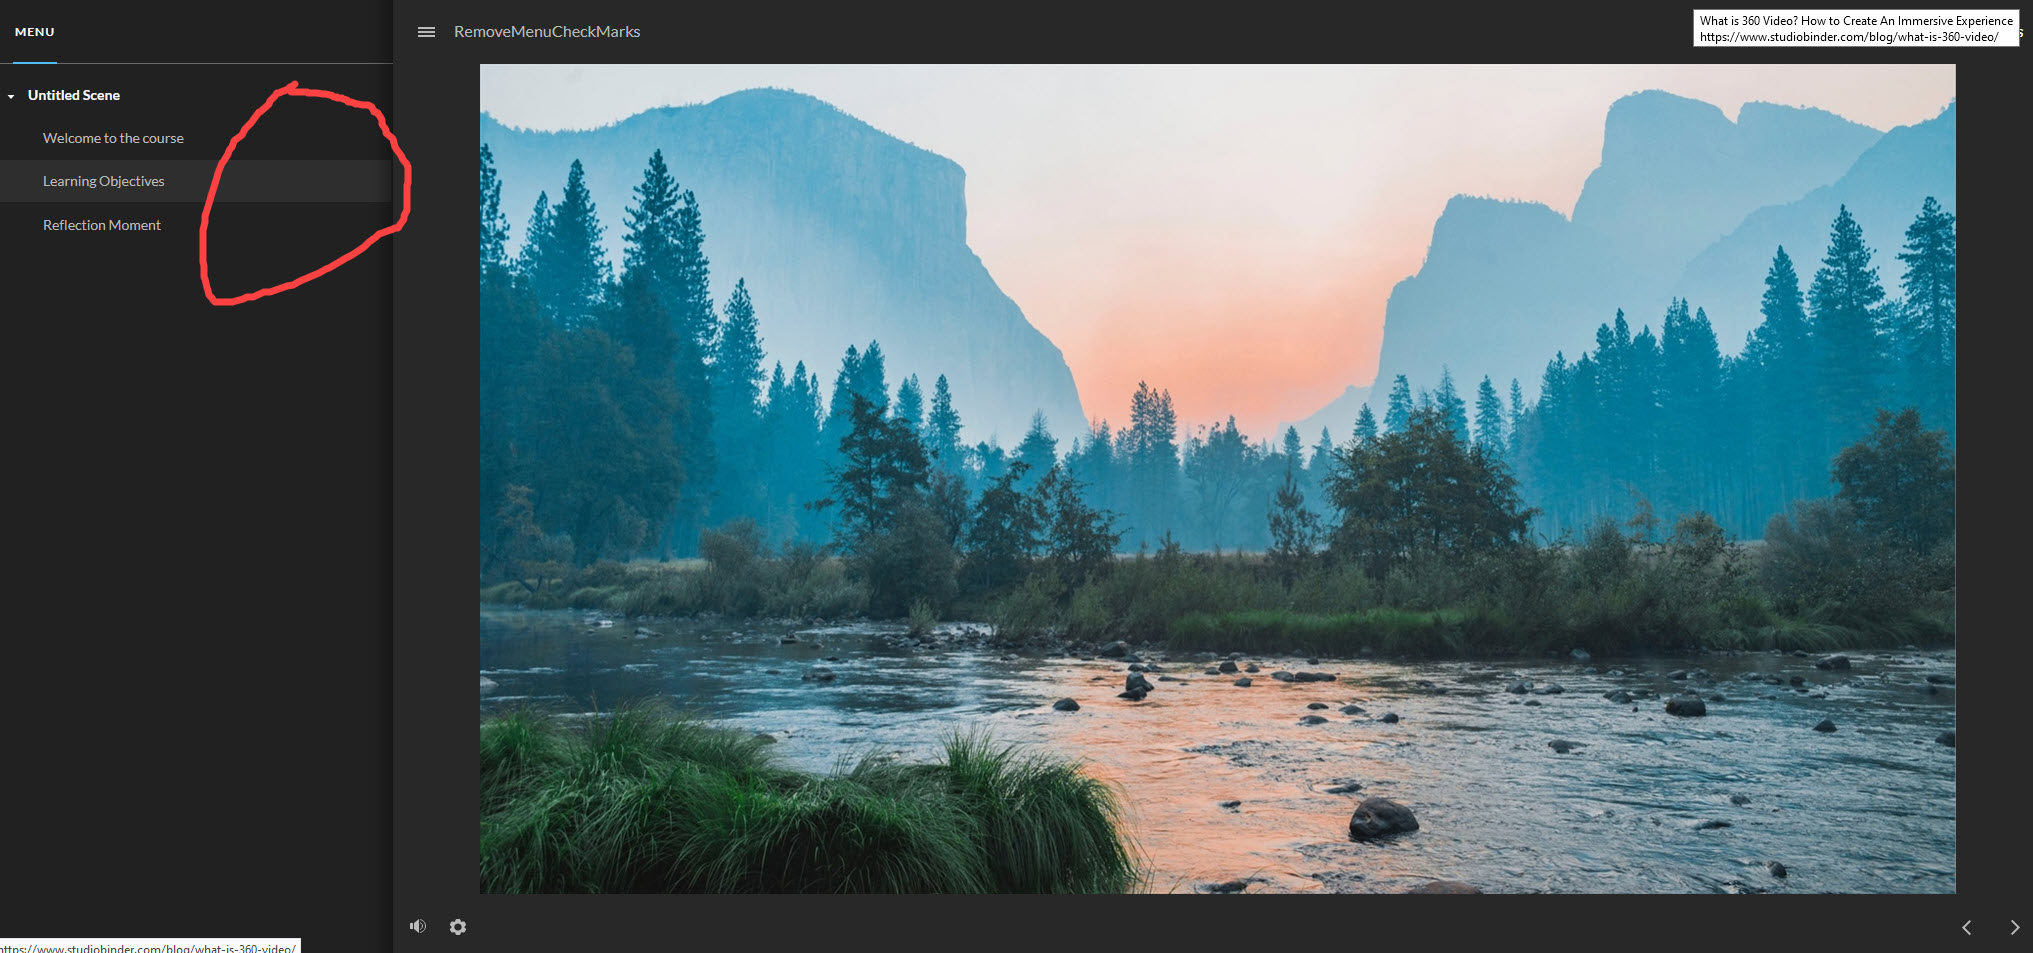
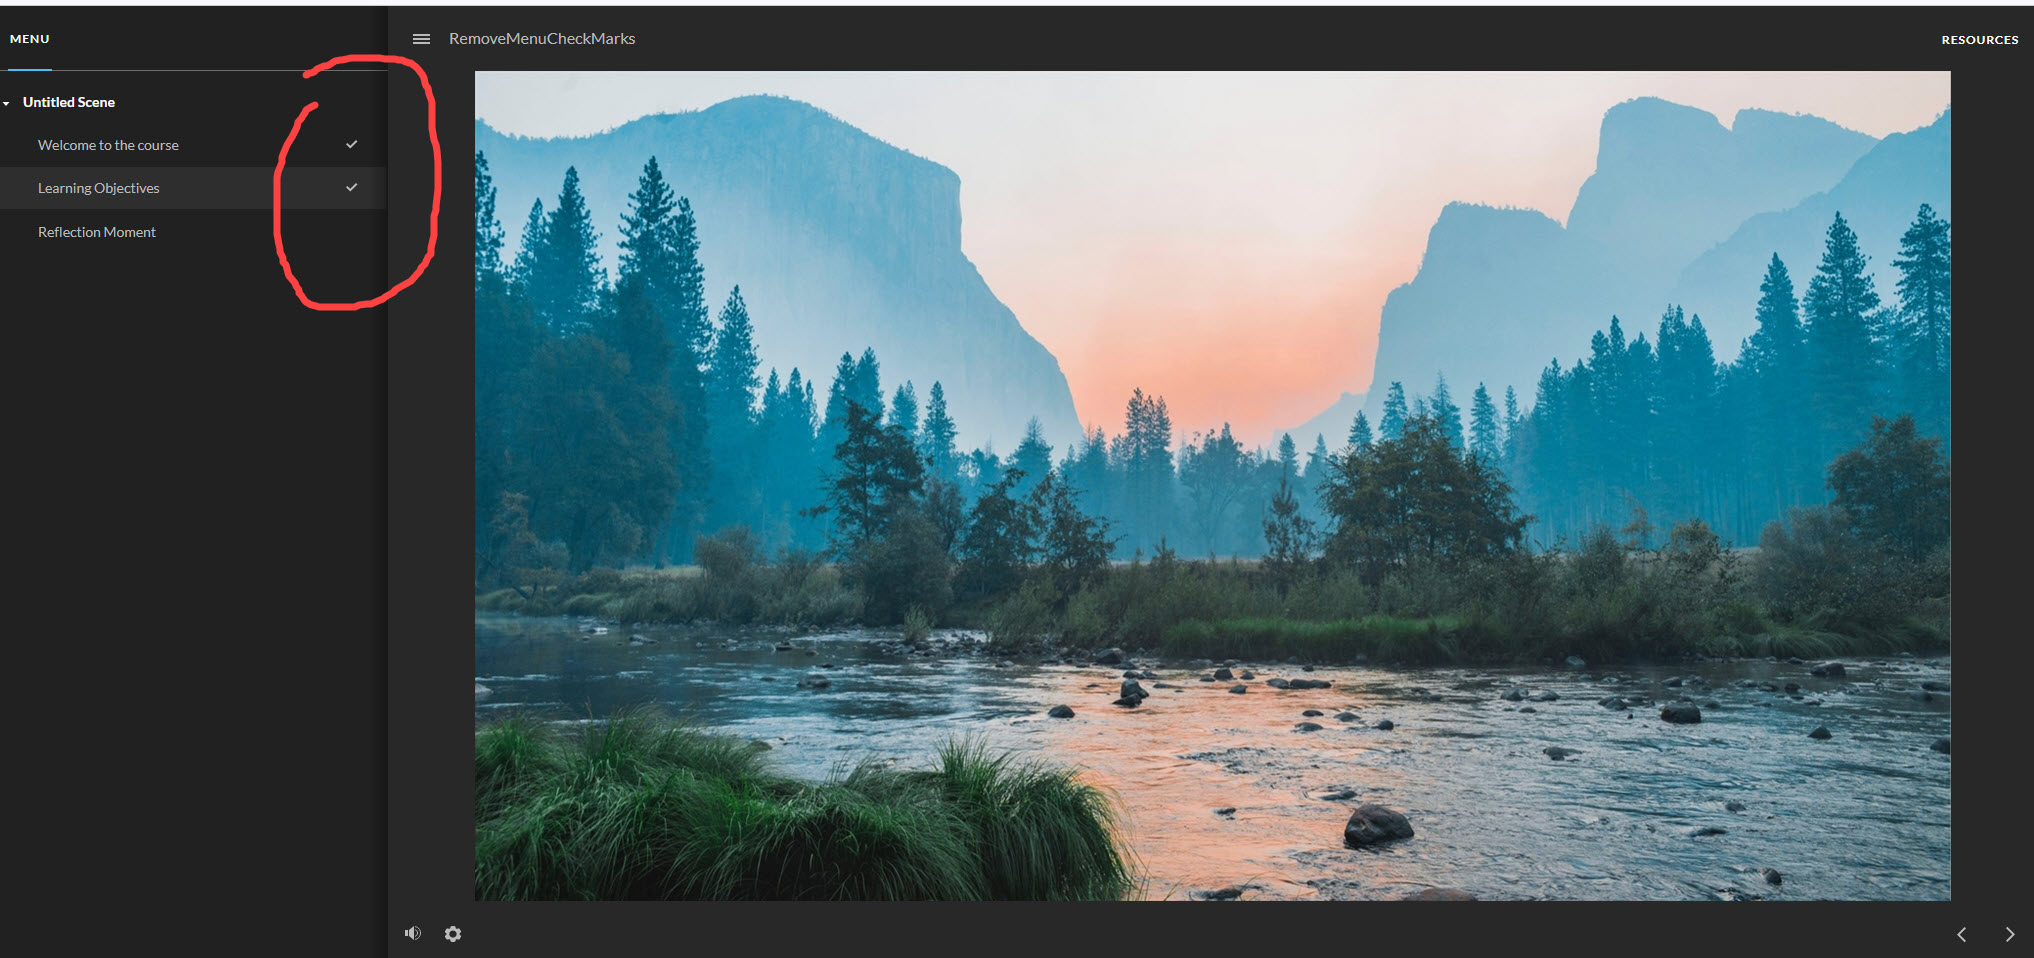
First, publish the course and select the View Project button to see visible checkmarks. Close the browser tab and return to the Storyline app.
Step 2:
Click Open and navigate to the html5>lib>stylesheets folder and locate the desktop.min.css stylesheet. You will need to do this as well in the mobile.min.mss stylesheet for it to work on mobile devices. I didn’t test this so be aware.

Step 3: Edit the .css file using NotePad++ or some other editor of your choosing
Note: The desktop.min.css stylesheet and the mobile.min.mss stylesheets are “minified,” which means they are not easy to read. Minifying a CSS file removes unnecessary characters reducing the file size and facilitating faster loading.
You can make them easier to read by using a Prettifier tool; otherwise, just open the css file using something like Notepad++ which I used.
You can find a prettifier tool here: https://www.prettifyjs.net/
Find the code .visitedIcon{display:inline-block;margin-top:2px}body and change the text inline-block to none
Before: .visitedIcon{display:inline-block;margin-top:2px}body …
After: .visitedIcon{display:none;margin-top:2px}body …
Save the desktop.mini.css file (don’t rename it). You want it to overwrite the original one.

Step 4:
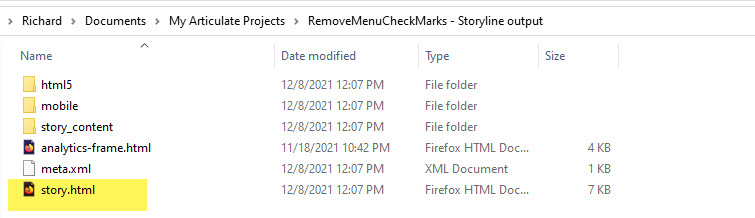
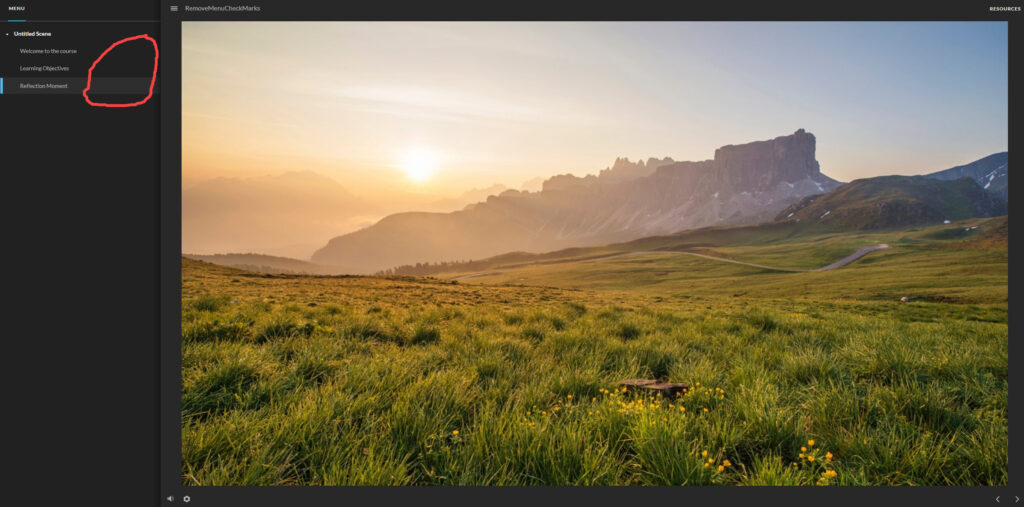
Navigate to the Storyline output folder. Click story.html. The checkboxes should be gone! Again, this is just a quick hack to see if I could make them go away. If you decide to do this, you are on your own! Enjoy.
You can see a working version of it by clicking the image above from a desktop system. If you view it using a mobile device, the checkmarks will still be visible.
This is such a simple and useful solution!! I love creating “websites” using Storyline and sometimes the linear functionality of things like checkmarks aren’t what I want. To be able to make a very small adjustment to the code saved my project and I would have never figure this out on my own. Thank you so so much for your generous help Richard and Bridgehill!
Thank you Kerri for stopping by and taking the time to comment. I’m glad to hear it worked for you on your project!